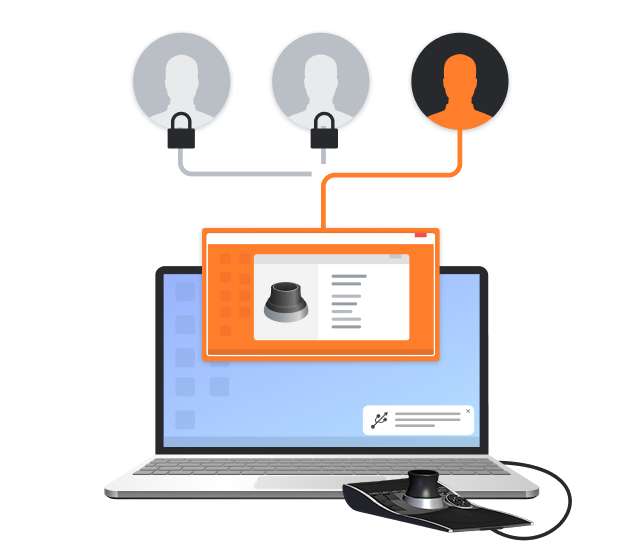
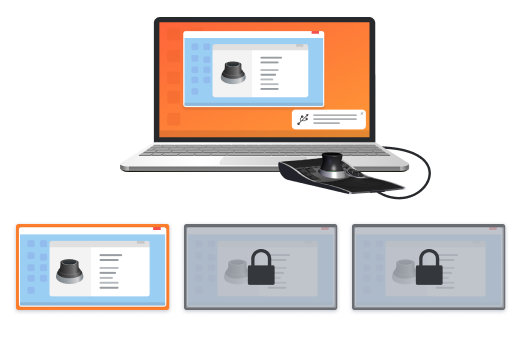
Electronic Team uses cookies to personalize your experience on our website. By continuing to use this site, you agree to our cookie policy. Click here to learn more.

Limit access to USB devices in RDP

Editorial Team Editorial Team May 25, 2020


You may want to restrict access to a USB device when multiple users are sharing a remote computer. The device might have sensitive information that should not be made available to the general user community.

Problem


The Windows default is to allow any user logged onto a computer to have access to all connected USB devices. There is no native method of efficiently limiting access to the devices which can be a problem when a Windows machine is shared by multiple users or hosting several Remote Desktop sessions.


Solution


USB Redirection software provides a solution that enables per-session USB device isolation to be implemented on Remote Desktop sessions.

Per-session isolation enables a designated RDP session to be given exclusive access to a USB device. This feature lets you maintain USB device access for a specific session while restricting other users from connecting to the peripheral equipment.

How to implement device isolation


The USB Network Gate Device Isolation Components are required to implement device isolation. They need to be installed on the client computer that will connect to the USB device remotely. During installation on the client machine just check the “Device Isolation Components” box.

implement device isolation

Note: The Device Isolation Components do not need to be installed on the USB Network Gate Server. This is the machine that has a direct connection to the USB devices.

These three files make up the USB Network Gate Device Isolation Components:

  • Dynamic link libraries (sessapart32.dll and sessapart64.dll);

  • Device isolation driver (sessapart.sys).

With these software components, USB Redirector lets you restrict access to a USB device when it is used by a remote shared computer. The device will only be recognized and accessible in the sessions you select.

Here’s how to enable per-session USB device isolation:


  1. Install the software on the computer with a physical connection to the USB device you want to share. This machine is the USB Network Gate Server.

  2. Launch and open the “Local USB devices” tab.

  3. Locate the peripheral you want to share in the device list and select “Share” next to its name.

  4. Once the device has been shared on the server, the software needs to be installed on the computer or Terminal Server that will remotely access it, known as the USB Network Gate Client.
  5. Note: Remember to install the USB Network Gate Device Isolation Components on the client PC if you plan on restricting access to USB devices.

  6. Open the “Remote USB devices” tab and select the required device from the application’s display.

  7. Choose “Connect for this session” from the drop-down menu:
Connect for this session

You can use the main menu and select Connect devices > Connect for this session:

use the main menu

Note: This type of connection cannot make use of the auto-reconnect feature of the software. After the device is connected, its status will display the session name that can access the device.

conclusion of your session

At the conclusion of your session, the connection is automatically closed on the client computer.

Note: If a user is running multiple sessions, isolated USB devices will only be available in the designated session, not every one that the user has open.

That’s all there is to it! Now you can provide access to a specific Remote Desktop session while eliminating the possibility that other users can connect to the device.

USB Network Gate
Redirect USB devices over network
14-day Free Trial available
License price starts at $159.95
Available for