How to Create a USB Server?
What is a USB Server? It’s a piece of hardware also known as a USB device server that enables more efficient use of USB peripherals. USB devices attached to a USB server can be accessed remotely by multiple computers. This eliminates distance limitations and the need to move cables when sharing a device with several computers. Organizations can enjoy the following benefits by implementing a USB server.
- Remote access to USB devices - A USB over network server lets remote or mobile employees access company devices from any network-connected location. Users can easily access and control peripherals such as printers, hard drives, and webcams.
- Effortless device sharing - Multiple users can share a single USB device attached to a USB server. Connecting to a USB over a network server enables users to access a shared USB peripheral without moving cables for increased efficiency and productivity.
- Enhanced scalability and flexibility - The use of a USB server enhances the scalability and flexibility of your computers and USB peripherals. The ability to connect to multiple devices remotely allows users to add peripherals at will to address evolving business requirements efficiently. Companies can optimize spending on USB devices by making them available through a USB server.
This article discusses popular USB network server hardware solutions that may fit your requirements. We will also look at a USB server software alternative that enables you to create a USB server from a computer without using any additional hardware.
USB Device Server Hardware Solutions
A hardware implementation of a USB server usually connects to the network via a standard USB port. Peripheral devices attached to a USB over IP server can be shared with any other network-connected computers. Most USB server hardware includes dedicated software to assist in the configuration and use of the device. Following are several popular hardware USB network server solutions.
USB device servers by SEH
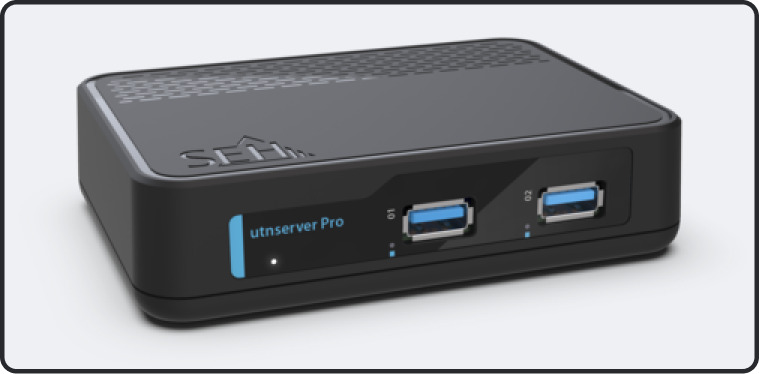
The UTN server is produced by German manufacturer SEH technology. The company is a leader in network printing and device solutions. USB device servers from SEH make it easy to connect USB devices to a network and make them available to remote network-attached computers.
Basic Features:
- The UTN server enables USB devices to be used over a network.
- VLAN and point-to-point support are provided for secure connections.
- The USB network server supports an extensive variety of USB devices.
- Management software is included to facilitate the use of the USB server.
Pros:
- Compatibility with many types of USB devices.
- User-friendly management software for easy installation and operation.
- Strong security including VLAN and data encryption.
Cons:
- Can be expensive for small offices or individual use.
- Optimal device performance may require additional configuration.
Silex DS-700
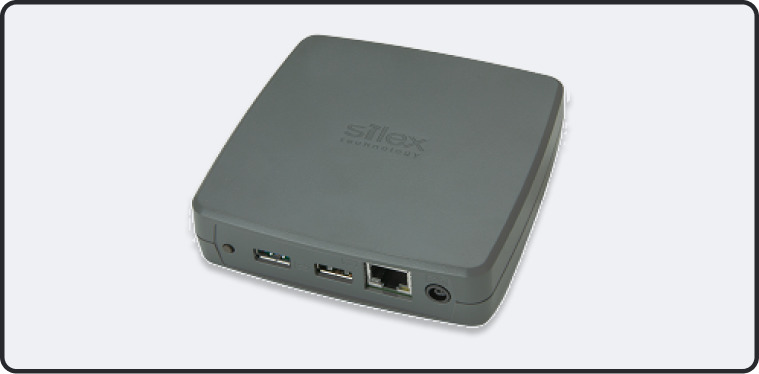
The DS-700 USB device server produced by SilexTechnology provides the functionality to access and manage network-attached USB devices. Users simply connect USB peripherals to the DS-700 to make them available to other computers attached to the network.
Basic Features:
- The DS-700 is a typical USB device server used to share devices over a network.
- High-speed data transfer is supported through Gigabit Ethernet.
- Secure data communication is ensured through advanced security features.
- Silex SX Virtual Link software is included to make it easy to connect your devices.
Pros:
- Supports high-speed data transfer.
- Supports a wide range of USB peripherals.
- User-friendly software for easy server management and device sharing.
Cons:
- Installation and configuration require some advanced technical skills.
- The number of devices that can be connected simultaneously is limited.
Digi AnywhereUSB
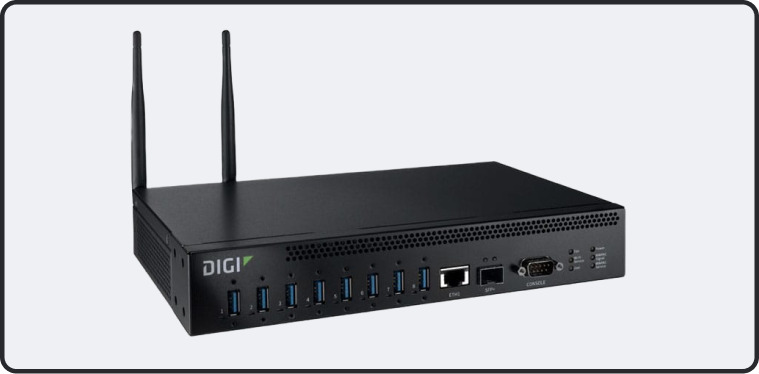
Digi AnywhereUSB by Digi International is a product line that provides USB hubs to support accessing USB devices remotely over a network. These devices act as USB network servers and give users the ability to control and manage remote USB peripherals as if they had a direct connection to the equipment.
Basic Features:
- AnyWhereUSB operates as a network-attached USB hub, enabling peripherals to be shared over a LAN.
- The hardware supports multi-host connections.
- The devices can be remotely configured and managed.
- Data security is ensured with the secure SSL and TLS communication protocols.
Pros:
- Strong security to protect data transfers.
- Compatibility with many USB devices.
- Easily integrates into existing infrastructures.
- Simultaneous host connections are supported.
Cons:
- Complex configuration requires technical expertise.
- More expensive than some alternate solutions.
Using dedicated hardware is not the only method of providing network-sharing and remote access for USB devices. USB server software like USB Network Gate enables any computer to act as a USB server with no additional hardware requirements.
Create a USB Device Server on Your Computer
Specialized hubs and adapters are a common way to make USB devices wireless or share them between computers. But USB Network Gate is here to contest that niche. It allows you to use a computer as a USB device server, granting other computers wireless access to the USB hardware connected to it.
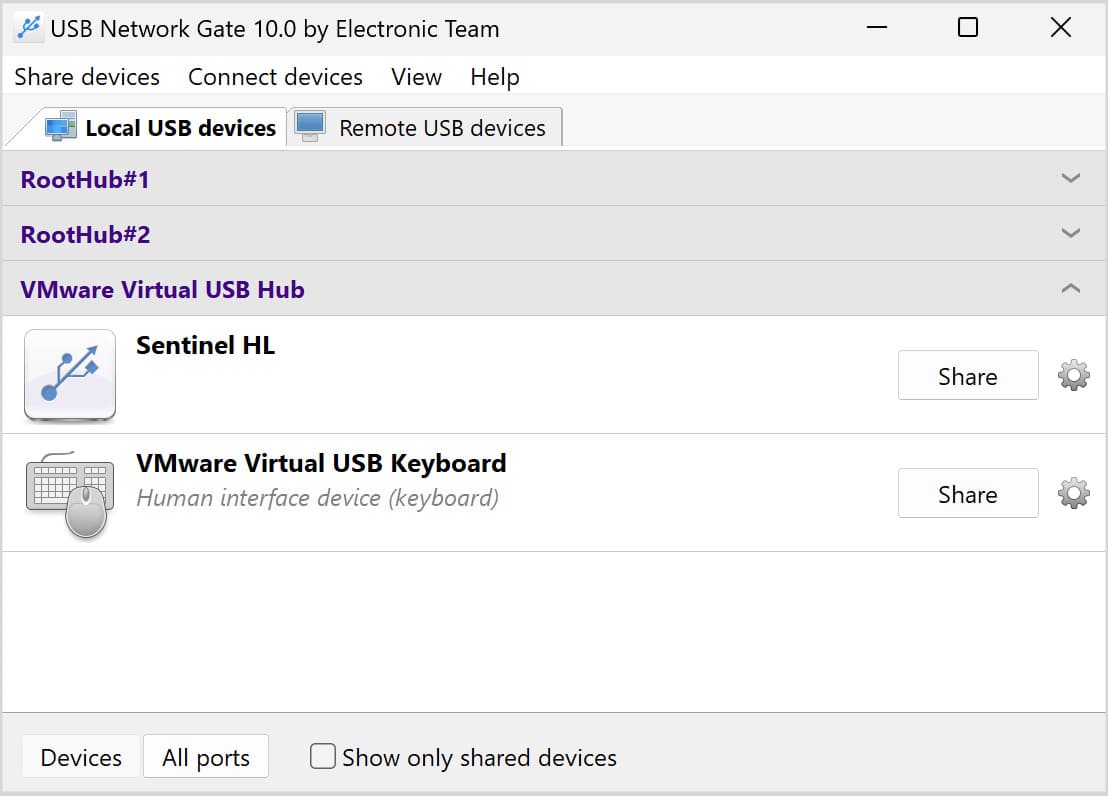
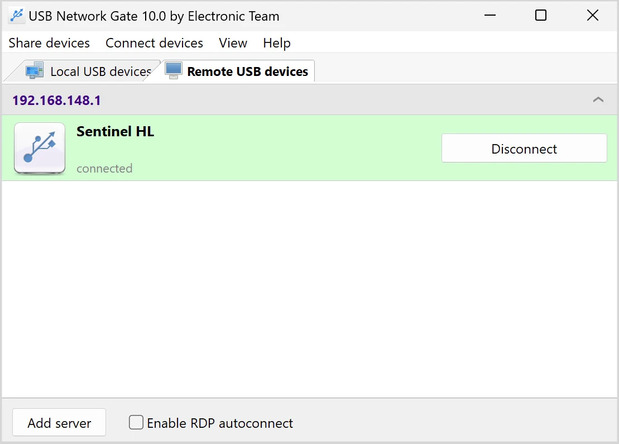
This can be applied in a number of ways - office peripherals, such as printers and scanners, webcams, keyboards, mice, storage devices, and more. All that's required for a remote computer to use them is a USB Network Gate and a LAN or internet connection to the USB server. The interface is easy to learn and allows connections to be initiated at the click of a button.
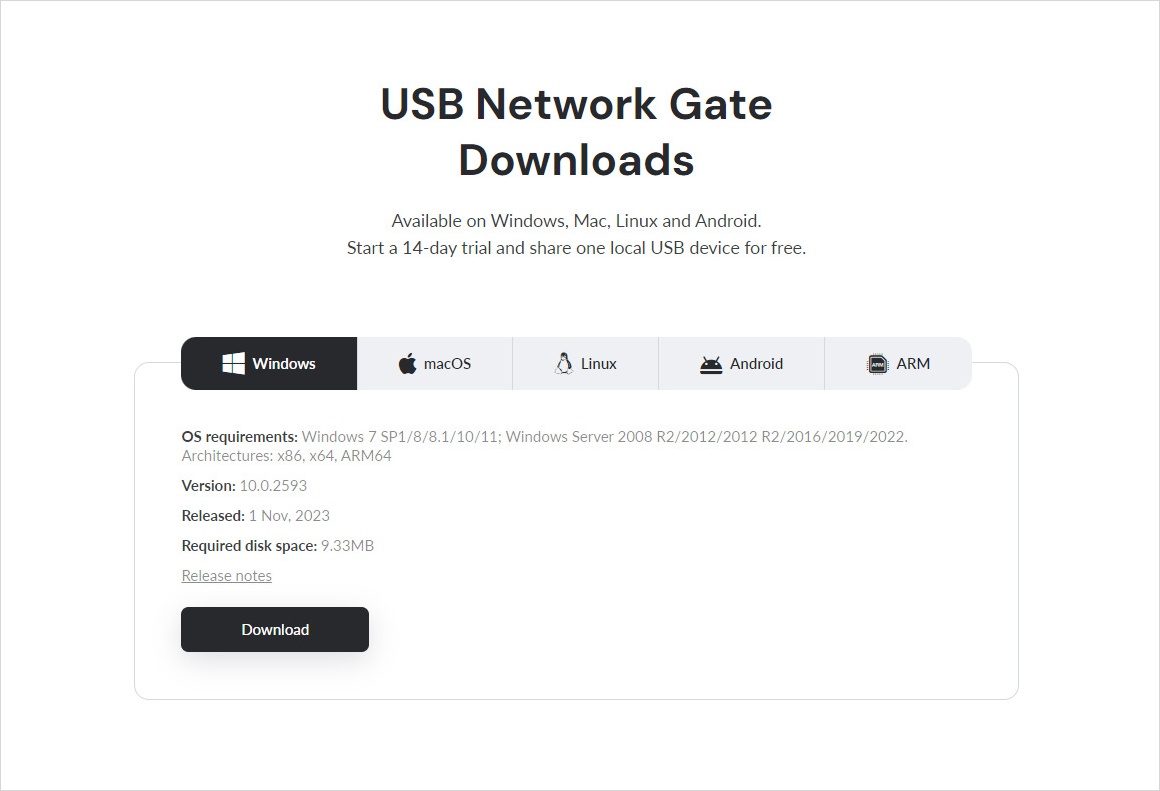
USB Network Gate setup
Install
Share
Connect

Main benefits of USB Network Gate
Users will enjoy the following benefits by implementing USB Network Gate as a USB device server solution.
Flexibility and Scalability
USB Network Gate is a software-based solution that makes it easy to scale the number of connected USB devices up and down to address changing business needs. Users can dynamically switch between USB devices without moving cables or equipment.
Security
The software supports secure data transmission with features such as password protection and strong encryption.
Compatibility and Integration
USB Network Gate provides wide compatibility with various types of USB devices, operating systems, and mixed IT environments. The software integrates seamlessly with virtual machines and cloud infrastructure to eliminate the complications of hardware USB servers.
Ease setup and management
The software is easy to install and configure for users with basic computer skills. Centralized device management is possible without having to physically visit peripheral devices.
Cost-Effectiveness
USB Network Gate is a cost-effective USB server solution that eliminates the need for additional hardware. The software is updated and patched regularly to address new security concerns without purchasing new physical equipment.
Mobility
USB Network Gate enables anyone with an Internet connection to access USB devices. This solution supports today’s mobile workforce by allowing remote users to use company devices from any location.
Comparing USB Network Gate to Hardware USB Servers
The following table consolidates much of the information we have presented and will hopefully help you choose the right solution for your requirements.
| USB Network Gate | SEH utnserver Pro | Silex DS-700 | Digi AnywhereUSB | |
| Device limit | 10 to infinite, license-dependent | 2-4, model-dependent | 2 | 2-24, model-dependent |
| OS support | Windows, Mac, Linux, Android | Windows, Mac, Linux | Windows | Windows and Linux |
| Setup | Install and use | Difficult, with drivers, security, and network settings | Requires drivers | Difficult, with drivers, security, and network settings |
| Support and updates | Frequent updates, easy to fix | Hardware repairs | Hardware repairs | Hardware repairs |
| Devices required | Host and user computers | Hub, computer, and an Ethernet cable | Your computer, the Silex, and an Ethernet cable | Hub and computer |
| Trial version | 14 days | No | No | Can only be bought |
| Pricing | $159 for a license for 10 simultaneous USB devices | $268.99-434.99 plus delivery fees | $170-210 plus shipping | The cheapest model with 2 ports starts at $290, plus delivery fees |
