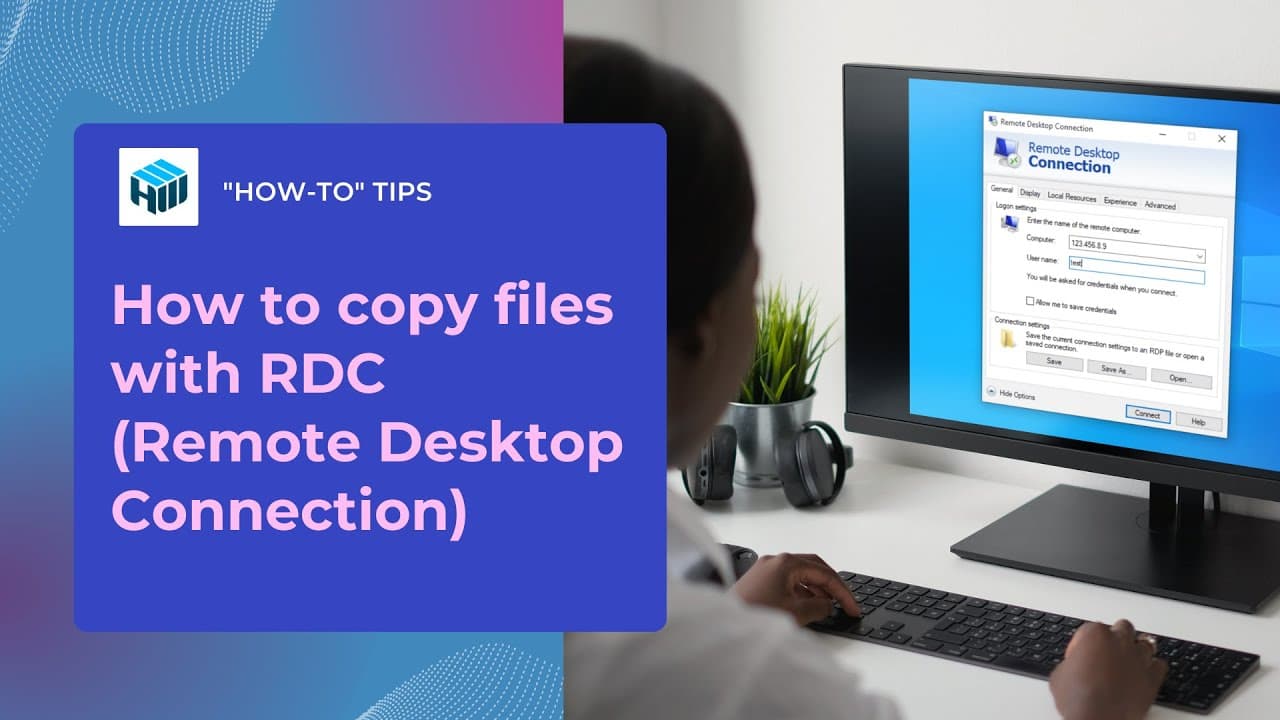
Remote Desktop Copy Files: Explore Methods and Step-by-Step Process
Remote Desktop Connection (RDC) gives users the ability to remotely view and operate a Windows desktop. And often it is required to reliably and quickly copy files to a remote desktop from a local machine. Microsoft has developed this functionality a long time ago, so connecting external hard drives to the remote desktop to transfer files can be accomplished with RDC in a matter of minutes.
If you’re using RDC and want to know how to copy files from remote desktop PCs, you will need to properly configure your RDC setup.
To simplify the process of transferring files between a local and remote machine, you can use a third-party solution, such as HelpWire. It allows you to transfer files directly to a remote computer without requiring a file hosting service or intermediate storage. Simply drag and drop files into your remote session window and start sending files effortlessly.
Contents
- How to Copy Files to Remote Desktop
- How to Transfer Files Using HelpWire Remote Desktop Software
- Conclusion
How to Copy Files to Remote Desktop
Whether you want to transfer a large set of data or a small batch of documents, you can use Remote Desktop Protocol (RDP) to access and manage files on remote computers. This simplifies the workflow and offers greater convenience in file transfers.
Here’s a step-by-step guide on how to configure Remote Desktop to transfer files remotely and some of the best file transfer methods to ensure everything goes smoothly.
How to Configure Remote Desktop
Let’s talk about how to correctly set up your Remote Desktop before exploring file transfer techniques. Configuring the settings properly allows you to securely and effortlessly perform remote desktop file sharing between remote and local systems.
Step 1: Expand Settings in Remote Desktop
- Inside Remote Desktop settings, find Show Options. Click on it to expand advanced settings.
- In the Computer field, input your server’s IP address.
Step 2: Modify Local Resource Settings
- Go to the tab Local Resources.
- Under Local devices and resources, click on More.
Step 3: Turn on Drive Redirection
- Expand Drives.
- You will find a box next to Local Disk (C:). Check the box or any other applicable drive.
- Go back to the main settings by clicking on OK.
Step 4: Set up the Connection
- Initiate the Remote Desktop session by clicking on Connect.
Navigate to the General tab and hit Save to store your configuration as an RDP file.
How to Access Files on a Remote System
Here are the steps you must follow for copying files over remote desktops and accessing them after you’re done connecting to the server.
- Use the given IP address to log in to the remote server.
- Launch File Explorer.
- From the left panel, click on This PC or Computer.
- Access local files by locating and opening C on your workstation.
Note: The workstation’s name (e.g., WINDOWS10) is for your local computer.
Methods to Copy Files in Remote Desktop
When you have a remote workforce and many remote systems to manage, you will need an efficient way to access or transfer files between local and remote machines.
Windows Remote Desktop provides you with several ways to transfer files between local and remote machines. You can do it via simple drag-and-drop, secure bulk file transfers, or fast copy-and-paste. But, choosing what works best for your needs is important if you want to ensure better efficiency and workflow during file transfers.
Let’s talk about various techniques to copy files from remote desktop to local one, their advantages and limitations, and step-by-step instructions for each.
File Transfer via Copy-Paste Method
Best for: If you are looking for a quick way to transfer small files, copy-paste is the best option.
Supports: Windows Server and Windows 7, 8, 10, and 11.
Overview
In the copy-paste method, you can copy files over RDP and share from one computer and paste them into another computer in an ongoing session.
Pros:
- Effortless and fast file transfer method
- Requires no additional setups.
- Compatible with common file types, such as text and images.
Cons:
- Limited support for transferring large files.
- Clipboard restrictions may lead to file transfer failures.
- Needs you to turn on clipboard sharing.
