Electronic Team uses cookies to personalize your experience on our website. By continuing to use this site, you agree to our cookie policy. Click here to learn more.

How to use a printer in Remote Desktop

Editorial Team Editorial Team Jun 27, 2023

Printing is an essential part of virtually any modern office. In some cases, it’s as easy as installing a print driver and attaching a printer to a computer. It can also become an extremely complicated activity that involves many moving parts.
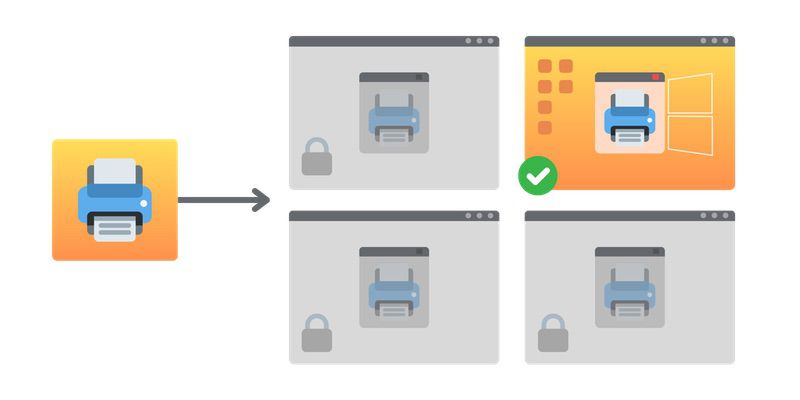
Open remote desktop connection

An example can be seen in organizations using Microsoft Remote Desktop Services. In this kind of environment, system administrators have to balance the needs of employees using locally attached printers with those working through virtual apps and Remote Desktop sessions.

Among the problems that might get in the way of successfully implementing RDP printer redirection are:

  • The server may not recognize the printer;
  • The remote machine is not configured properly to be a print server;
  • Printer redirection is disabled;
  • Group Policy has been configured to block printer redirection.

These issues need to be resolved before you can print with a redirected USB printer in an RDP session.

Open remote desktop connection

Third-party remote desktop printing software can minimize the challenges and improve user satisfaction when printing from a Remote Desktop connection. A tool like USB Network Gate makes it easy to print to a remote printer over RDP in any situation. It offers a simple answer to the question of does a shared printer work over RDP.

How to enable a local printer in Remote Desktop using native functionality?

Native Windows functionality enables a local printer to be used in a Remote Desktop session. The following procedure demonstrates enabling a local printer in an RDP session using features built into Windows.

How to add a printer over RDP

  1. Open Remote Desktop Connection by either of the following two methods.
    • ❑ Use the Windows Run prompt and execute the “MSTSC” command.
    • ❑ Navigate to Start -> All Programs -> Accessories -> Remote Desktop Connection. Open remote desktop connection
  2. You will see the following window after opening the RDP connection. Select Options and then the Local Resources tab. Local resources in RDP connection
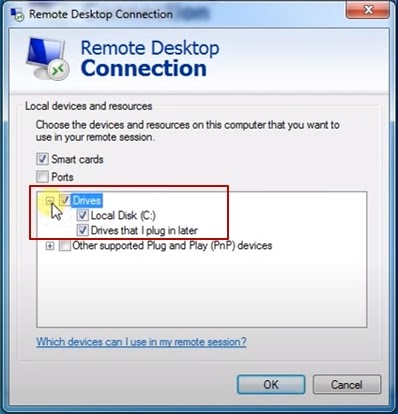
  3. Go to the Local devices and resources section located at the bottom of the tab. Make sure the Printers selection box is checked to enable local printers to be accessed by the server. You can also click on More and then Drives to enable access from within the server to local disk drives. Local devices and resources
  4. Now, navigate to the General tab and in Connection Settings, click the Save button. Save RDP connection settings

The local drives will be displayed in the RDP session’s My Computer as network drives. Printers are listed in the Printers and Faxes window by name followed by the word Redirected and a number. Saving the configuration ensures that every time you log into the server, your drives and printers will be accessible.

How to share a printer over RDP

Users interested in how to print on a Remote Desktop connection should take note of the following procedure. USB Network Gate enables remote printing even when there is no support for Remote Desktop printer redirection. The application lets remote users access locally connected USB printers with the same functionality of a direct physical connection to the device.

The steps below illustrate how to print on a Remote Desktop connection using a local printer with USB Network Gate.
1
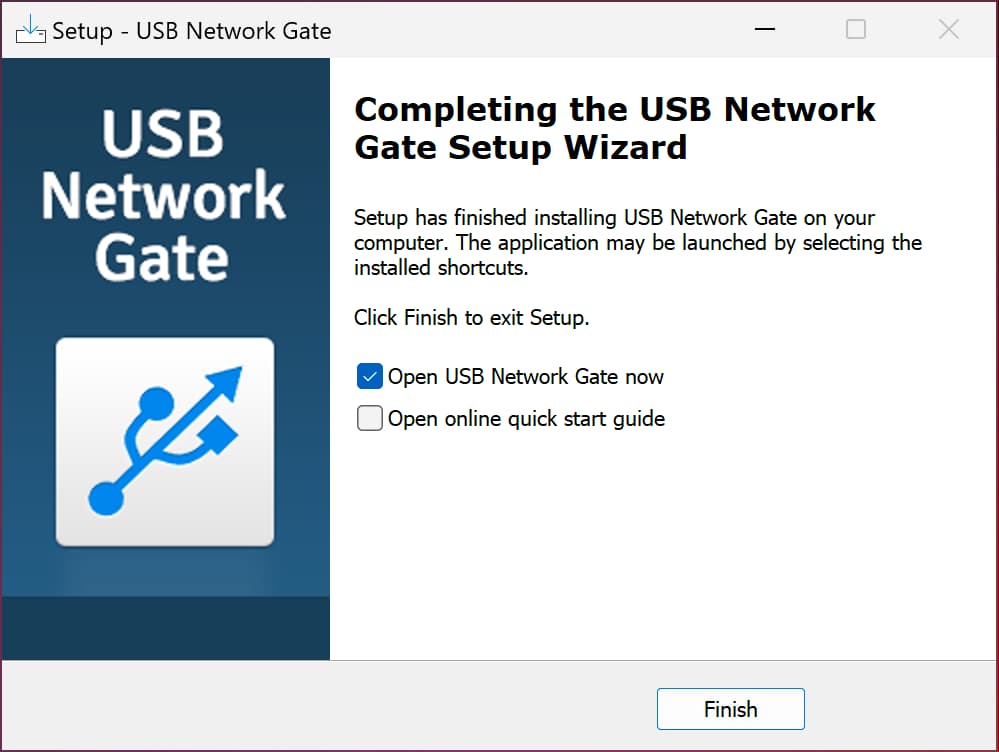
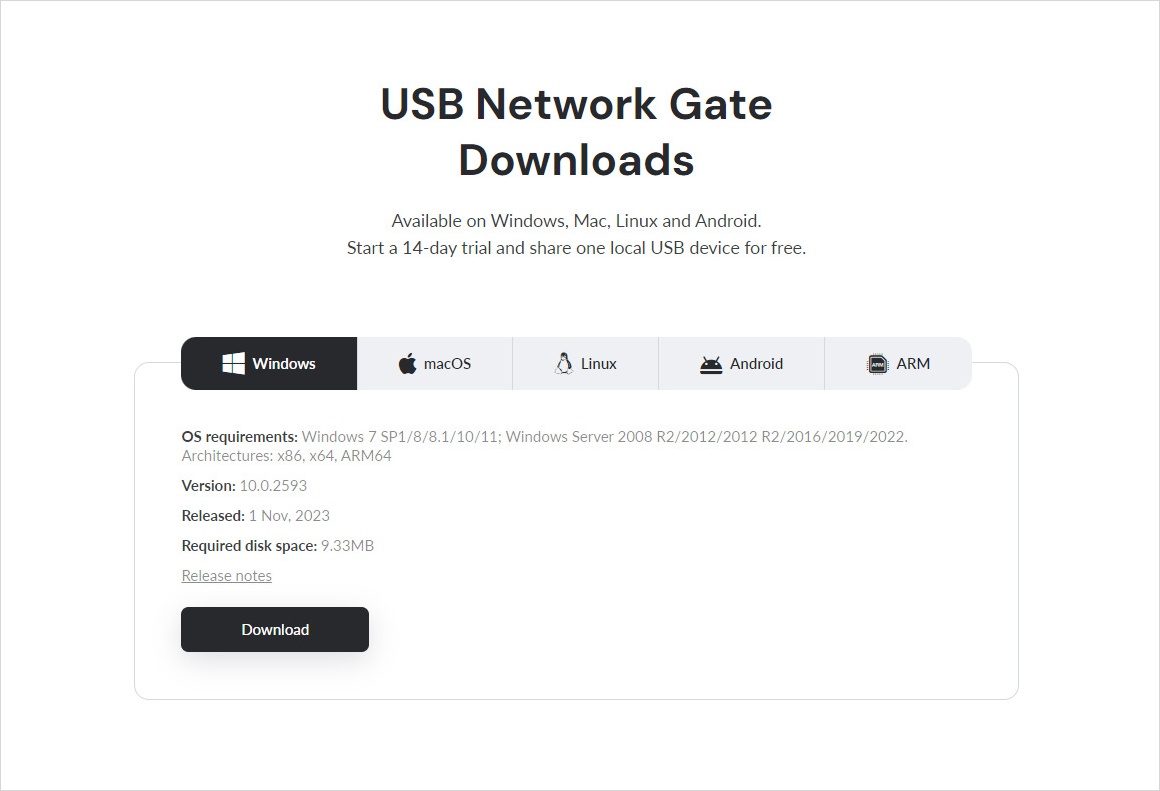
Download and install the USB Network Gate application on the computer with the physical connection to the printer. This machine will be called the server.
 Download software to print over RDP
2
Download and install USB Network Gate on the remote client computer that will use the printer through a Remote Desktop session.
 Launch RDP printing software
3
Start the USB Network Gate app on the server and client machines.
 Install client component
4
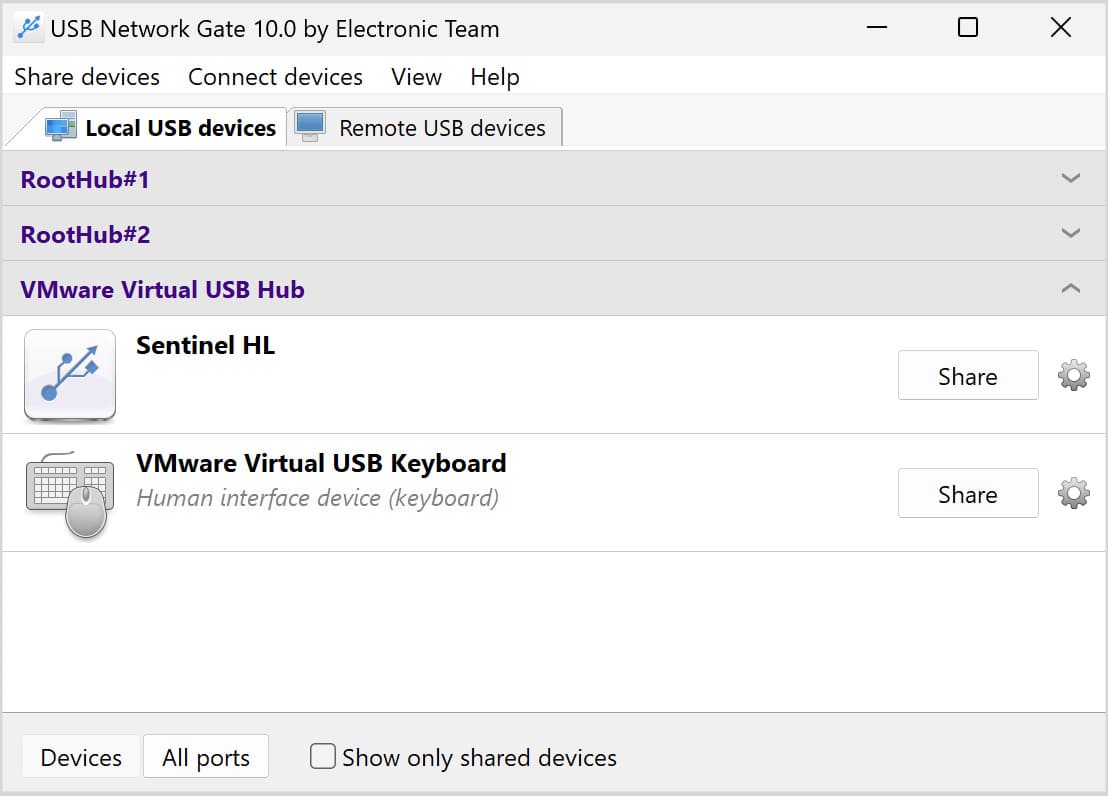
On the server, open the app’s Local USB Devices tab. Select the USB printer you want to share and click the Share button.
 Share USB printer to remote desktop
5
On the client machine running the RDP session, go to Remote Devices in USB Network Gate and click Connect to establish communication with the printer.
 Use printer for remote desktop

The USB printer will be recognized by the client machine and will be visible in its Device Manager after the connection is fully established.

That’s all there is to it. Once these steps are performed, you can print to the local printer from an RDP session.

USB Network Gate benefits when you share a printer to RDP session

The advantages of using USB Network Gate rather than native functionality when configuring printer redirection for RDP sessions include:

  • Eliminating concern over any issues that may be hindering the operation of Windows printer redirection;
  • Minimizing driver installations on the terminal server;
  • Reducing unnecessary network changes;
  • Resolving problems with slow printers and issues with print spoolers crashing.

USB Network Gate offers enhanced functionality and the ability to easily implement RDP printer redirection. It also enables any type of USB device to be shared over a network.

logo USB Network Gate
#1 at Networking
USB Network Gate
Share USB over Ethernet on Windows
4.7 rank based on 372 + users