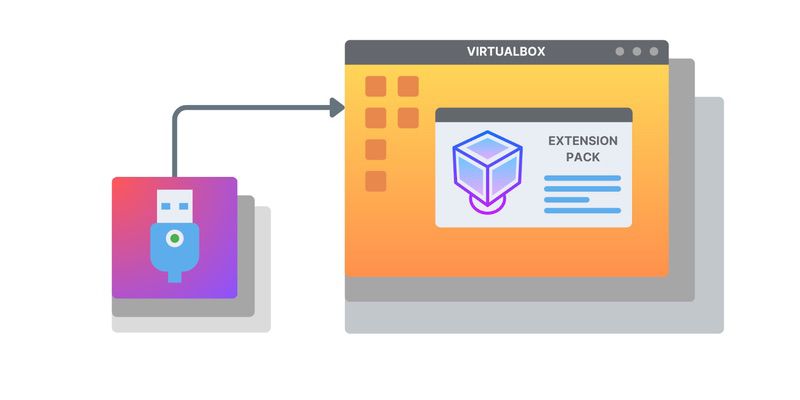
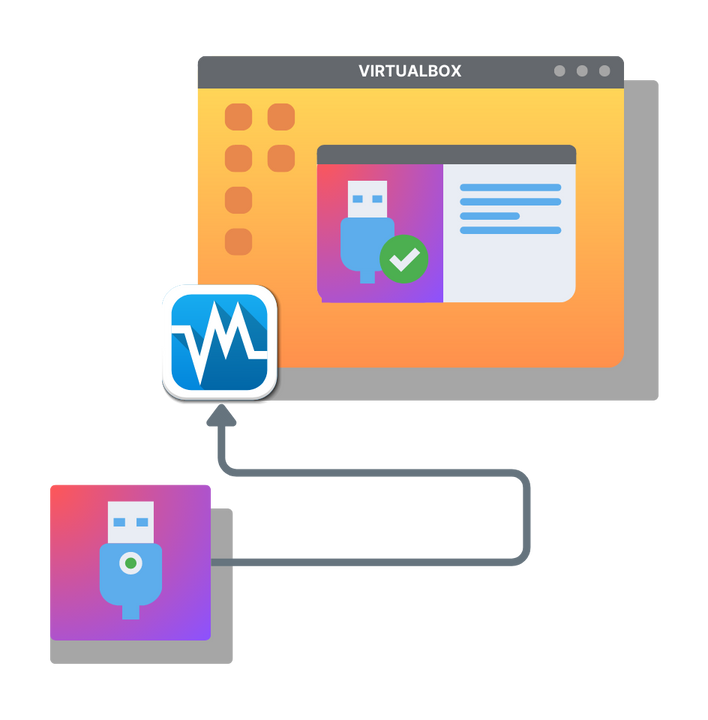
If you work with VirtualBox on a regular basis, at some point, you will need to access a USB device from a virtual machine. Fortunately, setting up USB passthrough to VirtualBox VMs is not hard to implement. To begin, you need to have installed VirtualBox and its guest additions on a guest OS running on Linux (Ubuntu) or Windows. The VirtualBox Extension Pack also needs to be installed on your machine. This article shows how to connect USB devices to vBox as well as sharing the attached devices.
Keep in mind the native connectivity methods can only provide access to the USB devices by one computer at a time.
Software solution to implement VirtualBox USB passthrough with no limitations
There is a lack of robust support for accessing local USB devices in many of the virtualization applications on the market. You may find that you are having difficulty with vBox not recognizing USB connections. As a result, you get the following error: "Failed to attach the USB device to the virtual machine.” The solution to eliminating this issue is handy software.

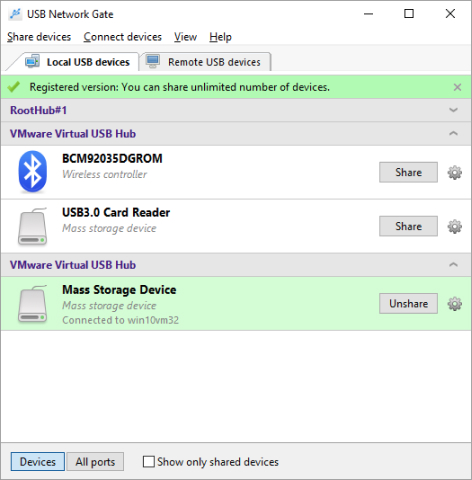
USB Network Gate is a software solution with a user-friendly GUI that makes it simple to set up a vBox USB passthrough on your guest operating system. It can solve a lot of USB connectivity problems for a designer, app dev, or another professional who is using virtual machines on a routine basis.


USB Network Gate employs redirection technology that enables you to access USB devices over a network such as Ethernet, LAN, or the Internet. The software tool also allows you to set up VirtualBox USB passthrough to access from your VMs all the printers, webcams, dongles, and other USB devices connected not only to your host machine but to all networked computers via Ethernet, LAN, or the Internet no matter the physical distance.
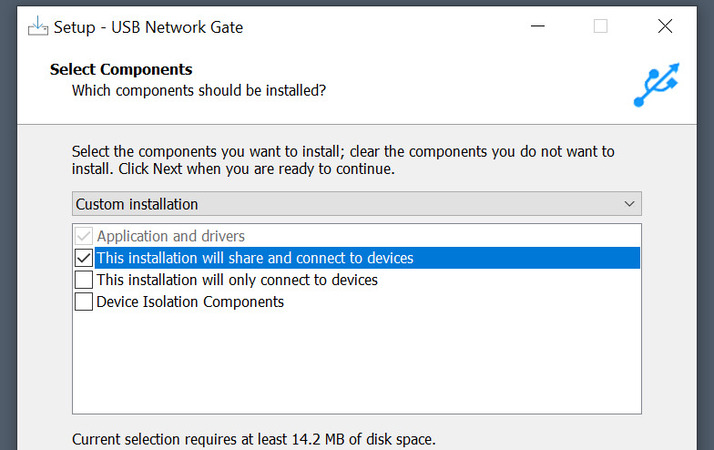
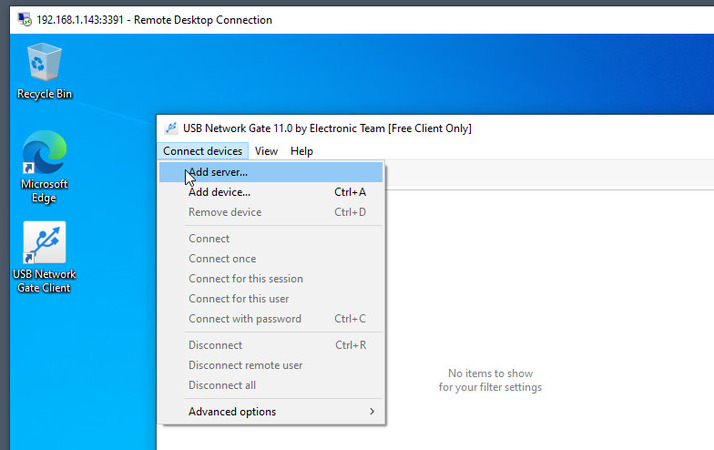
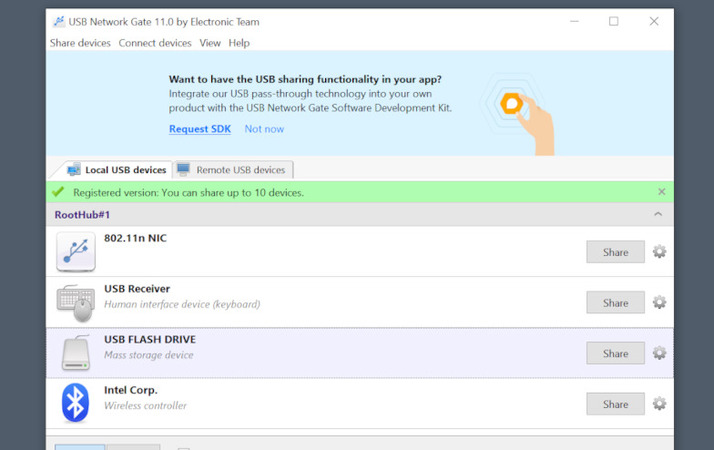
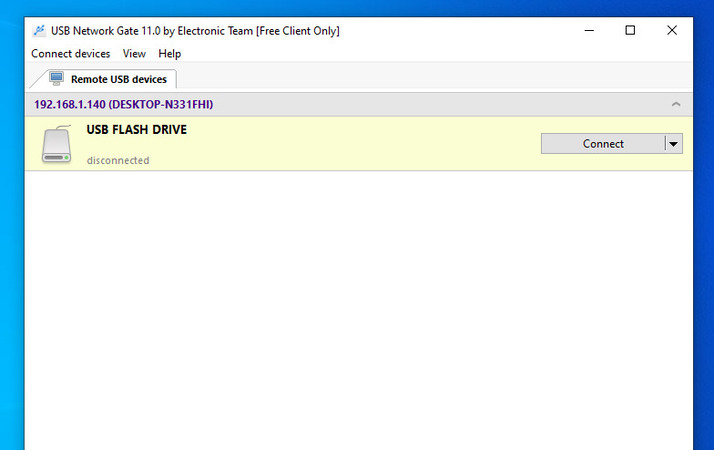
You can set up vBox access to USB peripherals with just three steps:
USB Network Gate offers a true cross-platform solution that can be used in mixed environments, including vBox USB Windows 10 support. With its help, you can easily redirect your iPhone to all operating systems, including Linux (Ubuntu), Mac, and any Windows except for Win XP, even without any drivers installed on the client side. And don’t forget to enable traffic encryption to make sure no one will use an unprotected ESXI connection for unauthorized access to your VMDK files.
A note for Linux users: there is a handy lsusb utility you can check all the data on your local machine’s USB buses and the devices with. It is very important for users to have a Linux kernel that supports the dev bus USB interface to know how to put lsusb to good use. Also, you need to be in the vboxusers group for any of this to work.


Access a USB device in a vBox Guest
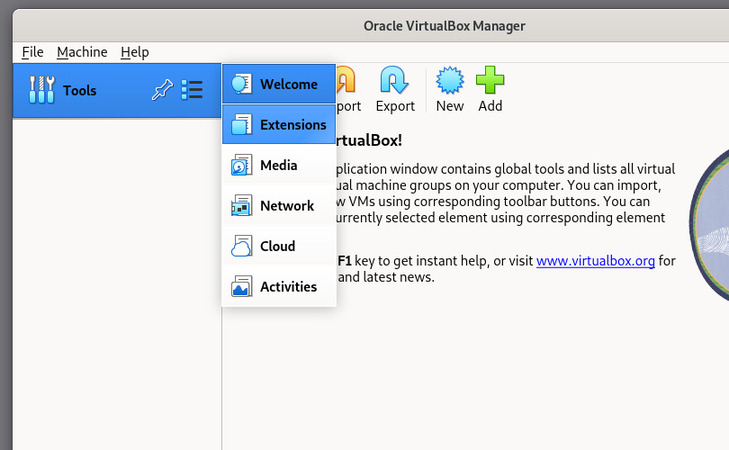
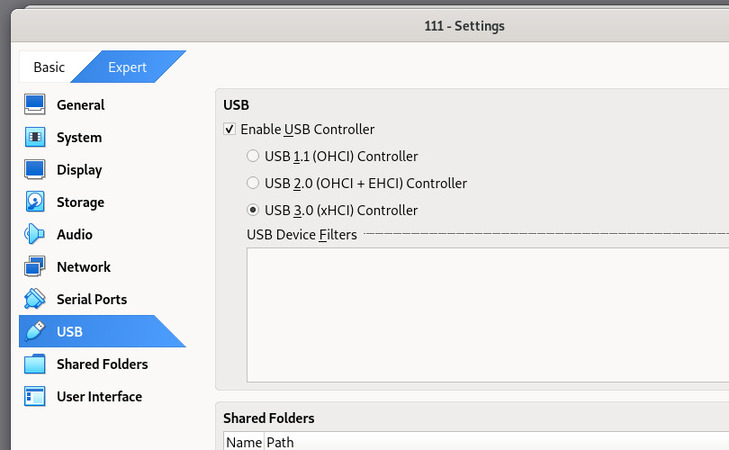
The vBox 5.0 hypervisor version provides support for USB 3.0 devices if you install the VirtualBox Extension Pack. Once the extension pack is in place, start your Virtual Machine, whether running as a guest on a Linux or Windows computer.
Before you start, make sure you are in the vboxusers group, and all the drivers relating to hardware, software, and EHCI are updated to their latest versions to ensure maximum performance and minimize compatibility issues.
The easiest way of VirtualBox Extension Pack installation is using the vboxmanage command line. Open the Terminal and run this command:
sudo vboxmanage extpack uninstall
~/Downloads/Oracle_VM_VirtualBox_Extension_Pack-6.1.10.vbox-extpack
- After the installation is complete, go to the vBox folder, run the hypervisor, start your VM and plug the USB device into an open USB port on the physical host.
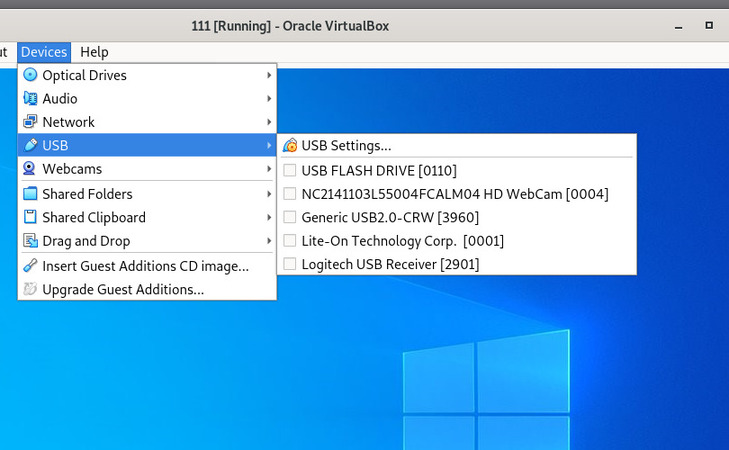
For this example, to enable VirtualBox USB passthrough for a USB drive (in all operating systems except for win XP) go to Devices => USB and select the USB device you want to share.
The illustration below shows vBox USB flash drive access. - The device should be mounted in the vBox guest OS immediately after it is clicked. The picture below shows the USB drive mounted on Linux (Ubuntu) and a Windows guest OS as a separate drive.
- This implementation enables data to easily be copied in and out of the VirtualBox USB. Passthrough does not imply truly sharing the device, and it can only be accessed on one guest OS at a time.
How to mount USB on VirtualBox with filters
Automatically mounting USB devices in VirtualBox virtual machines can be accomplished by using filters. Setting up a vBox USB filter is relatively easy. Right-click on the VM and choose the USB tab. Enable the USB controller and select the “+” sign on the right side of the window to display the available USB devices. Select the USB device that needs to be automatically accessed from within vBox and click on it. In our example below, we add a filter so the Logitech USB Optical Mouse is set up using vBox.

Click “OK” to confirm after the filter has been added. Now the device will not show up on the host operating system when it is connected. Instead, it will automatically be passed to the vBox guest host.
vBox USB speeds
The vBox hypervisor 5.0 version’s support for USB 3.0 speeds is a marked improvement in the application. Unfortunately, vBox USB is not working at the speed I would like to see. As you can see in the illustration below, write speeds for USB 3.0 maxed out at around 21 MBps second, with reads performing better at about 40MB per second. USB 2.0 speeds also underperformed, which should be considered if you plan to run a server from within a vBox guest.

Any type of USB device can be accessed in the same manner as the vBox Flash Drive sharing example presented here. But, as you can see, for some devices, it works better than for others. There might not be much utility in using the procedure for keyboards or a mouse. To set up VirtualBox USB passthrough for hardware devices like SD card readers, printers, or scanners, it’s strongly recommended to use third-party apps like USB Network Gate to increase the functionality of your guest VM machines.