Cookie
Electronic Team uses cookies to personalize your experience on our website. By continuing to use this site, you agree to our cookie policy. Click here to learn more.

How to Set Up VirtualBox USB Passthrough on Mac

Olga Weis Olga Weis Jul 6, 2021

Every VirtualBox user or dev trying to access a USB device from a virtual machine via EHCI needs to be familiar with the concept of USB passthrough. In this article, we’re going to focus specifically on some very commonly arising questions. Such as: how to connect USB to VirtualBox VM on Mac? How to find a USB drive on VirtualBox Mac? And: is it possible to redirect a physical USB device to one (or all) of your VMs via Ethernet, network, or Internet connection?

Plus, we’ll take a look at two VirtualBox Mac USB passthrough solutions: the first option that grants you total freedom and complete control over all the USB devices you have in your set-up, and the alternative VirtualBox Mac USB solution requiring some additional settings to function properly.

How To Access MAC USB With VirtualBox

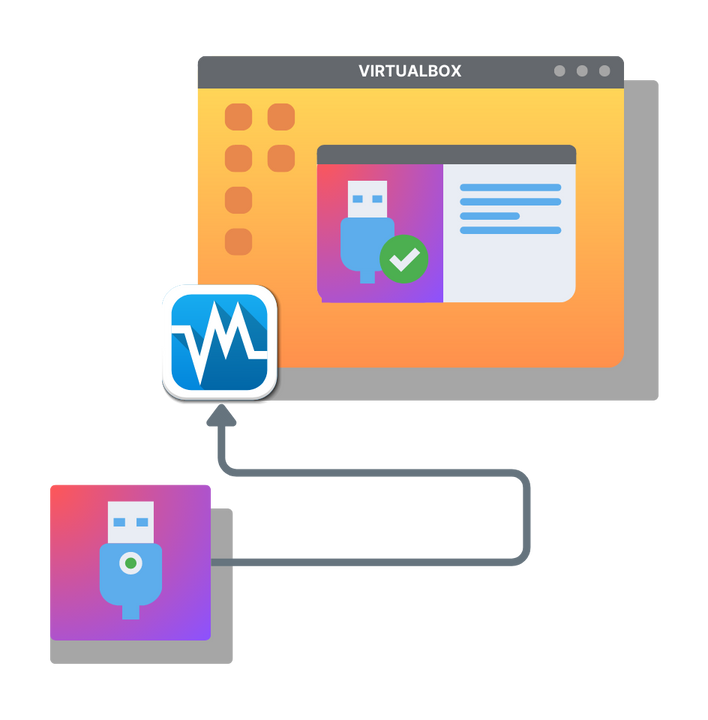
The easiest and most convenient way to establish VirtualBox USB Mac passthrough on a guest machine running a Mac OS (or other operating systems, for that matter) is using the software solution named USB Network Gate. With this handy professional-grade app, USB redirection becomes an easy task because USB Network Gate solves many of the connectivity issues that users face when trying to access their USB devices from vBox VMs.

Thanks to the redirection technology that works perfectly via LAN, internet, or Ethernet connection, any USB Network Gate user, be it any designer, software engineer, or game dev, obtains full control over the host machine’s printer, webcam, dongle, or other USB-based hardware.

USB Network Gate USB passthrough capabilities mean that all the convenience and efficiency of controlling USB devices that are physically connected to a remote computer with network/Internet access is right there in your hands, readily available through an elegant and straightforward GUI.

So, if you ever wondered how to find a USB drive on VirtualBox in Mac, follow these steps below.

Here is how to set up a VirtualBox Mac USB passthrough for your USB drive, card reader, iPhone, or other devices.

Note: Ensure all drivers relating to hardware, software, and EHCI are updated to their latest versions to ensure maximum performance and minimize compatibility issues.

1
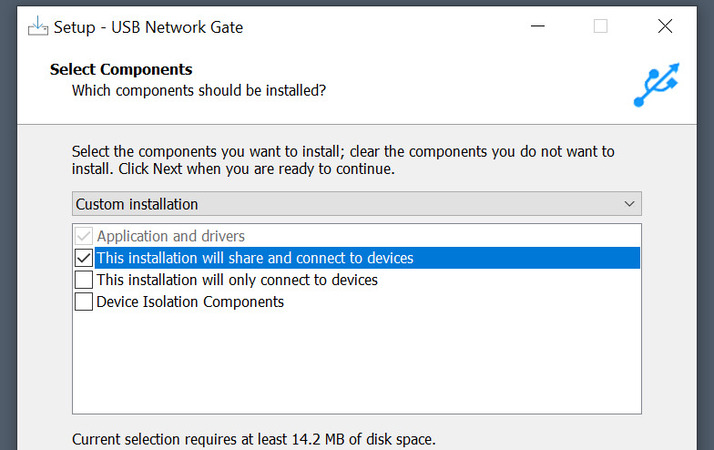
Start with USB Network Gate installation on the computer that is physically connected to the USB device (often referred to as the “server” computer).
2
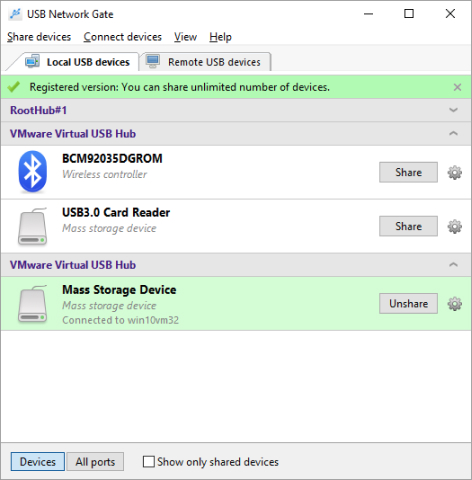
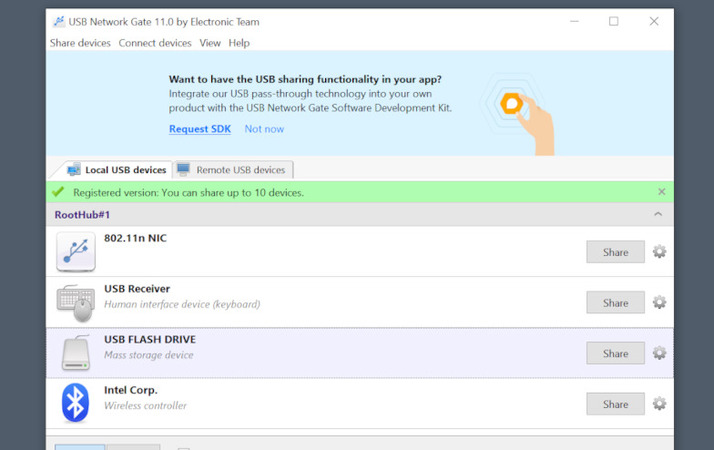
Use the handy USB Network Gate GUI to share your USB device.
3
Download and install USB Network Gate on the machine that needs remote access to the device (a “client” machine).
4
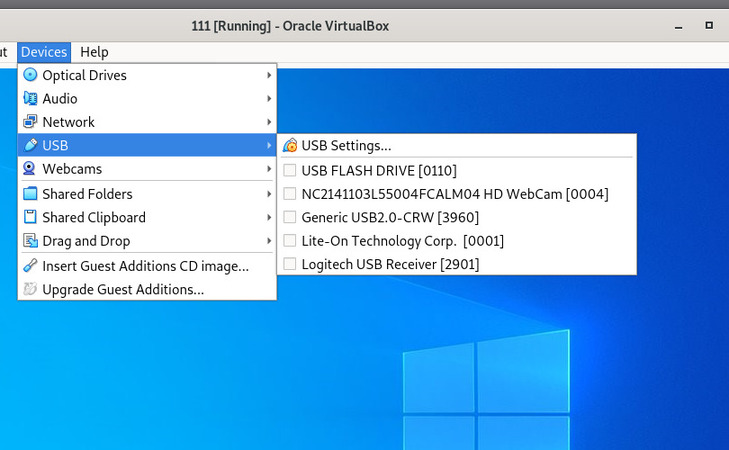
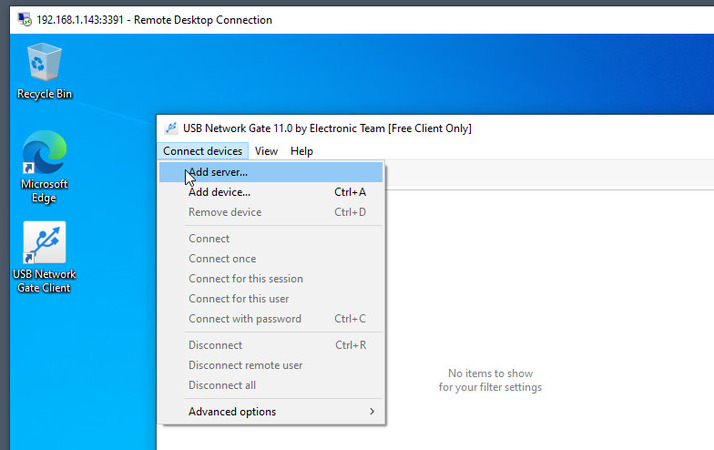
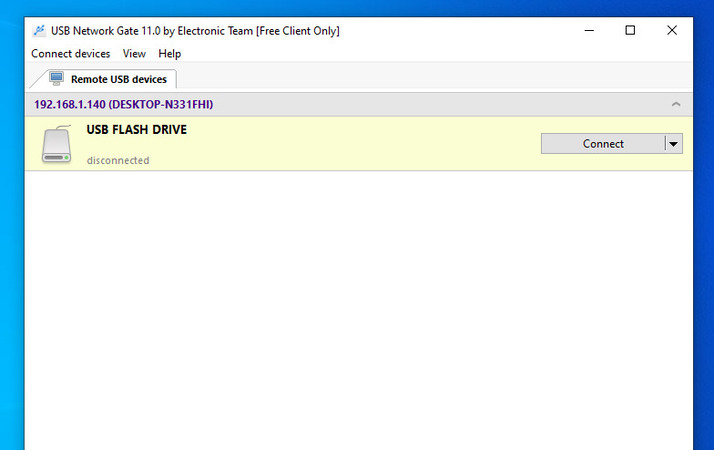
To mount a USB drive VirtualBox Mac, launch USB Network Gate on the client machine and establish the connection between the shared USB device and the VM.

As you can see, with the help of a proper software tool, in VirtualBox to mount a USB drive on Mac, you’ll only need a couple of minutes and a few mouse clicks. Plus, you can enable optional traffic encryption to completely eliminate the risk of unauthorized access to your VMDK files.

On top of that, USB Network Gate enables a fully-functional cross-platformity that works with mixed operating systems and environments, including Windows (not XP, but all the others up to 10), Linux (Ubuntu), Android, and Mac OS of all generations.

A note for Linux (Ubuntu) users: open the lsusb utility to see all relevant system information regarding USB buses and the USB devices that are physically connected with the machine. It is required for users to have a Linux kernel that supports the dev/bus/USB interface to use lsusb effectively). Also, you need to be in the vboxusers group for any of this to work.

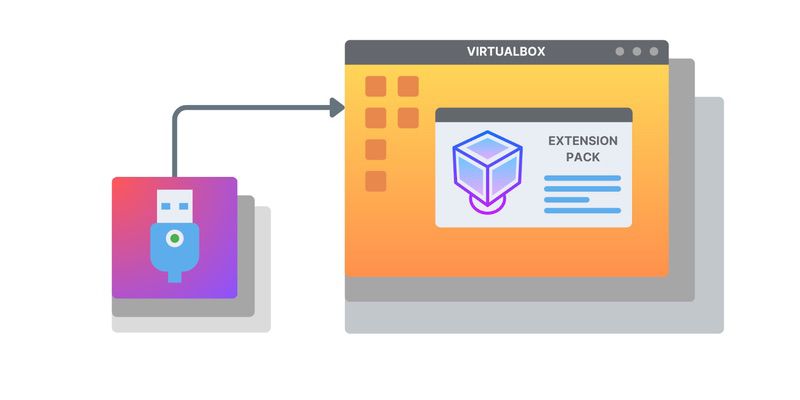
Accessing USB devices on Mac OS using the VirtualBox Extension Pack

The other option to connect USB to VirtualBox VM on Mac requires some additional setting configuration.

Before you start, please make sure all the drivers are updated to the most recent version, and you have the newest version of vBox. This will help to avoid compatibility problems during the Extension Pack installation.

Here is how to access USB from a VM on Mac or Linux:

  1. Download the newest version of the VirtualBox Extension Pack.
  2. Open the vBox folder and launch the hypervisor.
  3. Select Preferences from the "VirtualBox" option on the top menu (please note: these preferences are for the app only and differ from the VM settings): select preferences from the virtualBox option in the top ribbon
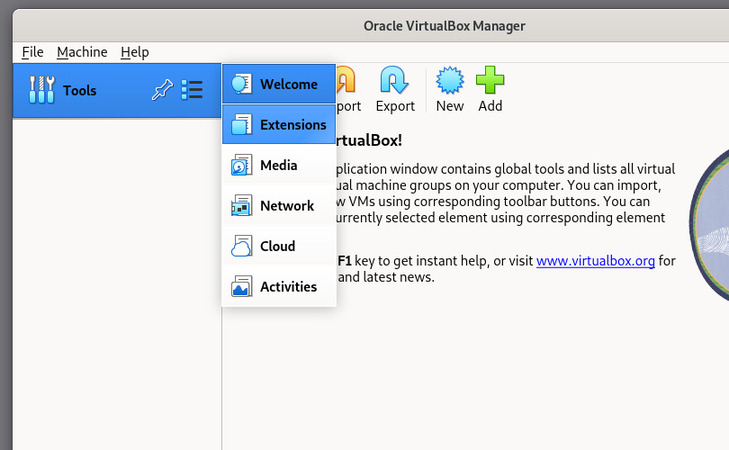
  4. Go to the "Extensions" tab.
  5. To add the new VirtualBox extension, click the "+" (as shown below), then choose the destination folder to download the Extension Pack: click the «+» and locate the recently downloaded file/folder
  6. Confirm that you are sure you want to install the pack (in some scenarios, you may be prompted to provide administrative login credentials to do so). Confirm VirtualBox Extension Pack installation

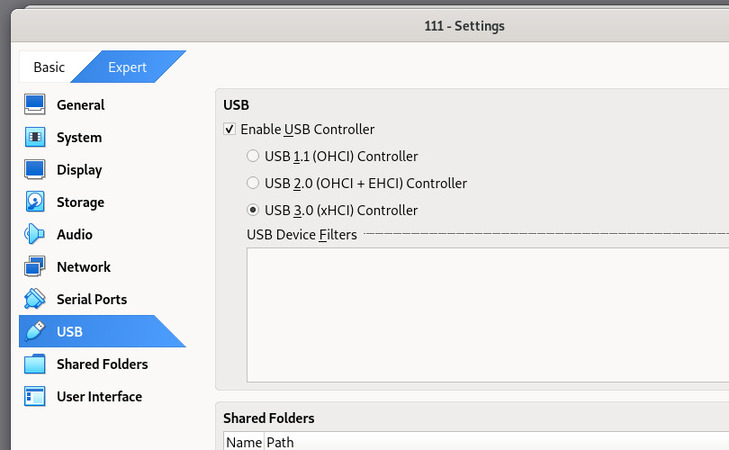
Now the Extension Pack is successfully installed and ready to go! The next step will be to restart virtual machines, relaunch vBox, and reconfigure VM settings in order for the changes to take effect.

Troubleshooting Issues With the Extension Pack Installation

The most common error messages to pop up are related to compatibility. Here are the two main reasons that cause the issues:

1: You have an outdated vBox version.

2: The Extension Pack version is out-of-date or not compatible with the vBox software version being used.

To fix this problem, please, install the latest versions of both vBox and Extension Pack, then reboot your machine.

Mac vboxusers dealing with vBox kernel drive failures can usually fix the problem using the provided instructions. However, please note they are specific to modern/recent macOS versions such as Mojave, Catalina, and Big Sur.

Using Command Line to Install the Extension Pack

Here is the method that allows Mac users to install Extension Packs using the vboxmanage command line. This can be done manually or via cask.

After downloading the Extension Pack open the Terminal and run the command shown below:

sudo vboxmanage extpack uninstall

~/Downloads/Oracle_VM_VirtualBox_Extension_Pack-6.1.10.vbox-extpack

logo USB Network Gate
#1 at Networking
USB Network Gate
Share USB over Ethernet on Windows
4.7 rank based on 72 + users
Get a download link for your desktop
Submit your email address to get a link for quick download on your desktop and get started!
or