Submit your email address to get a link for quick download on your desktop and get started!
A common method of accessing resources and applications on a Windows machine from a Mac is by using the functionality of Microsoft’s Remote Desktop client. From within a Remote Desktop (RDP) session, you can easily connect to a Windows machine and interact with your programs and data. One area where this configuration has limitations is forwarding USB devices in a remote desktop session from Mac to Windows.
The Mac Remote Desktop lets you share USB devices, but support is limited to designated peripherals like printers, cameras, and microphones.
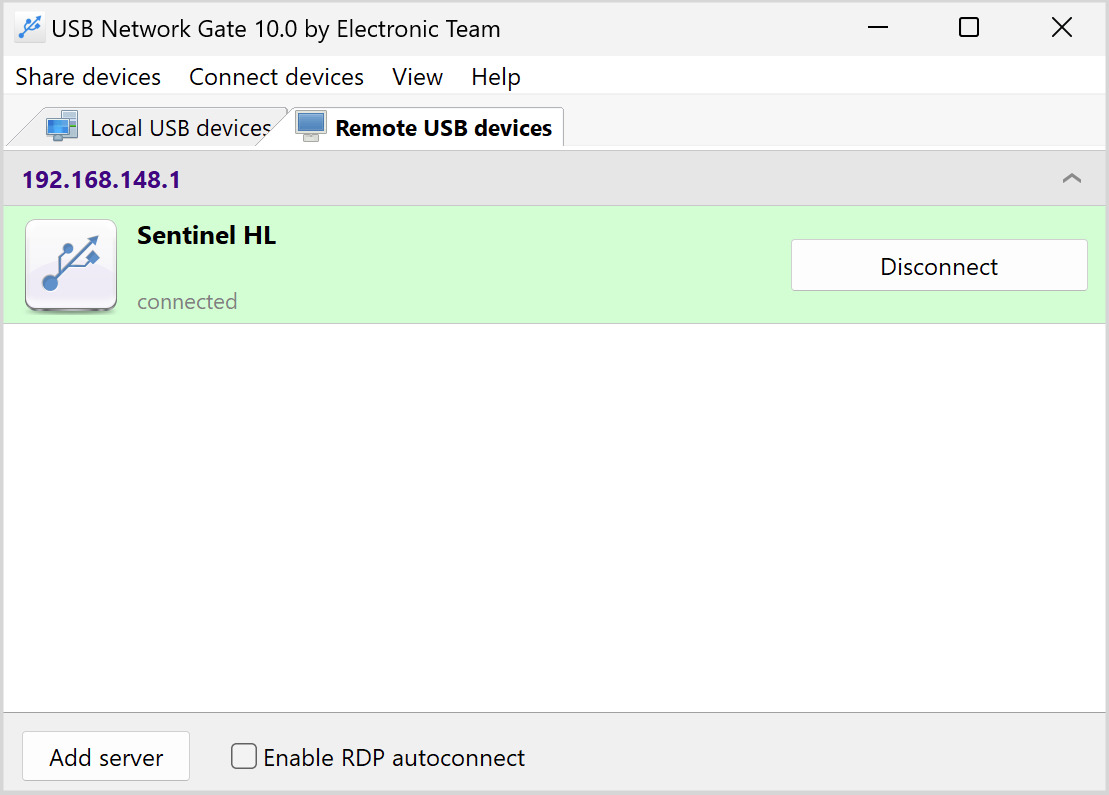
Using devices without native Mac Remote Desktop USB support requires the use of a third-party solution. USB Network Gate enables your Mac Remote Desktop to access any USB devices attached to a Windows machine.
USB Network Gate is a professional software application that makes it possible to securely connect to any USB device from a Mac running an RDP client.
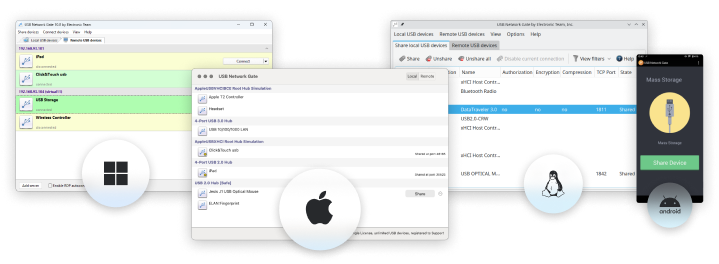
All major operating systems are supported by this USB over RDP solution. USN Network Gate lets you mix and match clients and servers running the Windows, macOS, or Linux OS. USB devices can be freely shared among computers running different supported operating systems.
Use the following steps to share a physically connected USB device with a Remote Desktop session running on your Mac.
1. Download and install USB Network Gate on your Mac.
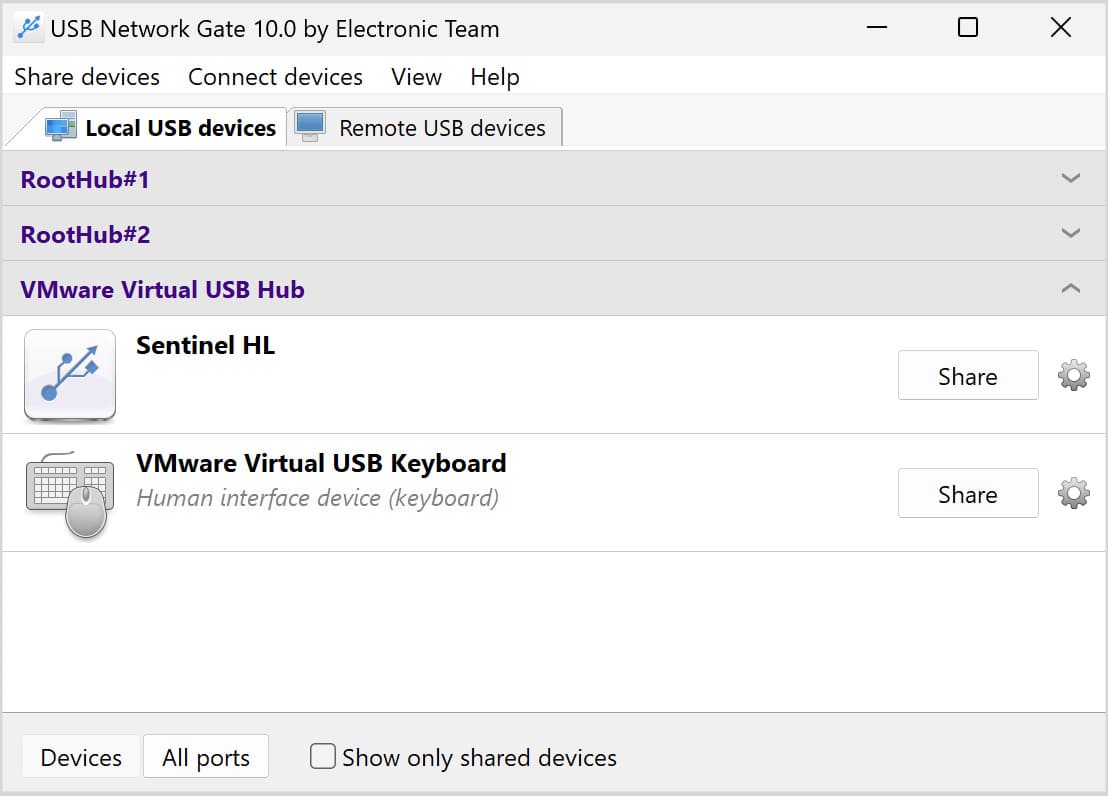
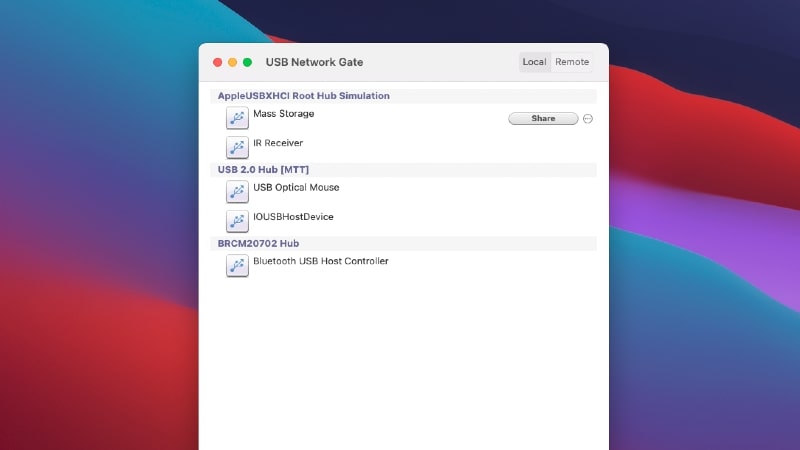
2. Start USB Network Gate on the Mac and navigate to the Local USB Devices tab. A list will be displayed showing you the devices that are physically attached to the computer. Select the device that will be made available to RDP sessions by clicking the Share button next to its name.
3. Next, install the RDP client for Mac - xfreerdp. It is a prerequisite to install the home-brew installation app before proceeding. Then execute the following command:
brew install freerdp. |
4. When the installation is complete, launch the macOS Terminal application and run this command:
xfreerdp --plugin usb4rdp ‹remote address=""› |
parameter with the ‹remote address=""› remote server’s IP address/domain name/computer name.
The previous command starts the xfreerdp RDP client and the plugin from the Electronic Team. This enables the user with the RDP session to use the functionality of USB Network Gate.
5. You can use the following command to load additional plugins available for freeRDP.
xfreerdp --plugin cliprdr --plugin usb4rdp xxx.xx.xx.xx |
This command launches the RDP client xfreerdp along with the cliprdr and usb4rdp plugins. This allows you to synchronize the clipboard data between the terminal server and the client.
6. Start xfreerdp with the following options if you plan to share an audio device over RDP.
xfreerdp --plugin usb4rdp -0 -o server |
This command uses the functionality of USB Network Gate to redirect the audio device instead of the native capabilities of the RDP client.
Important notes: